
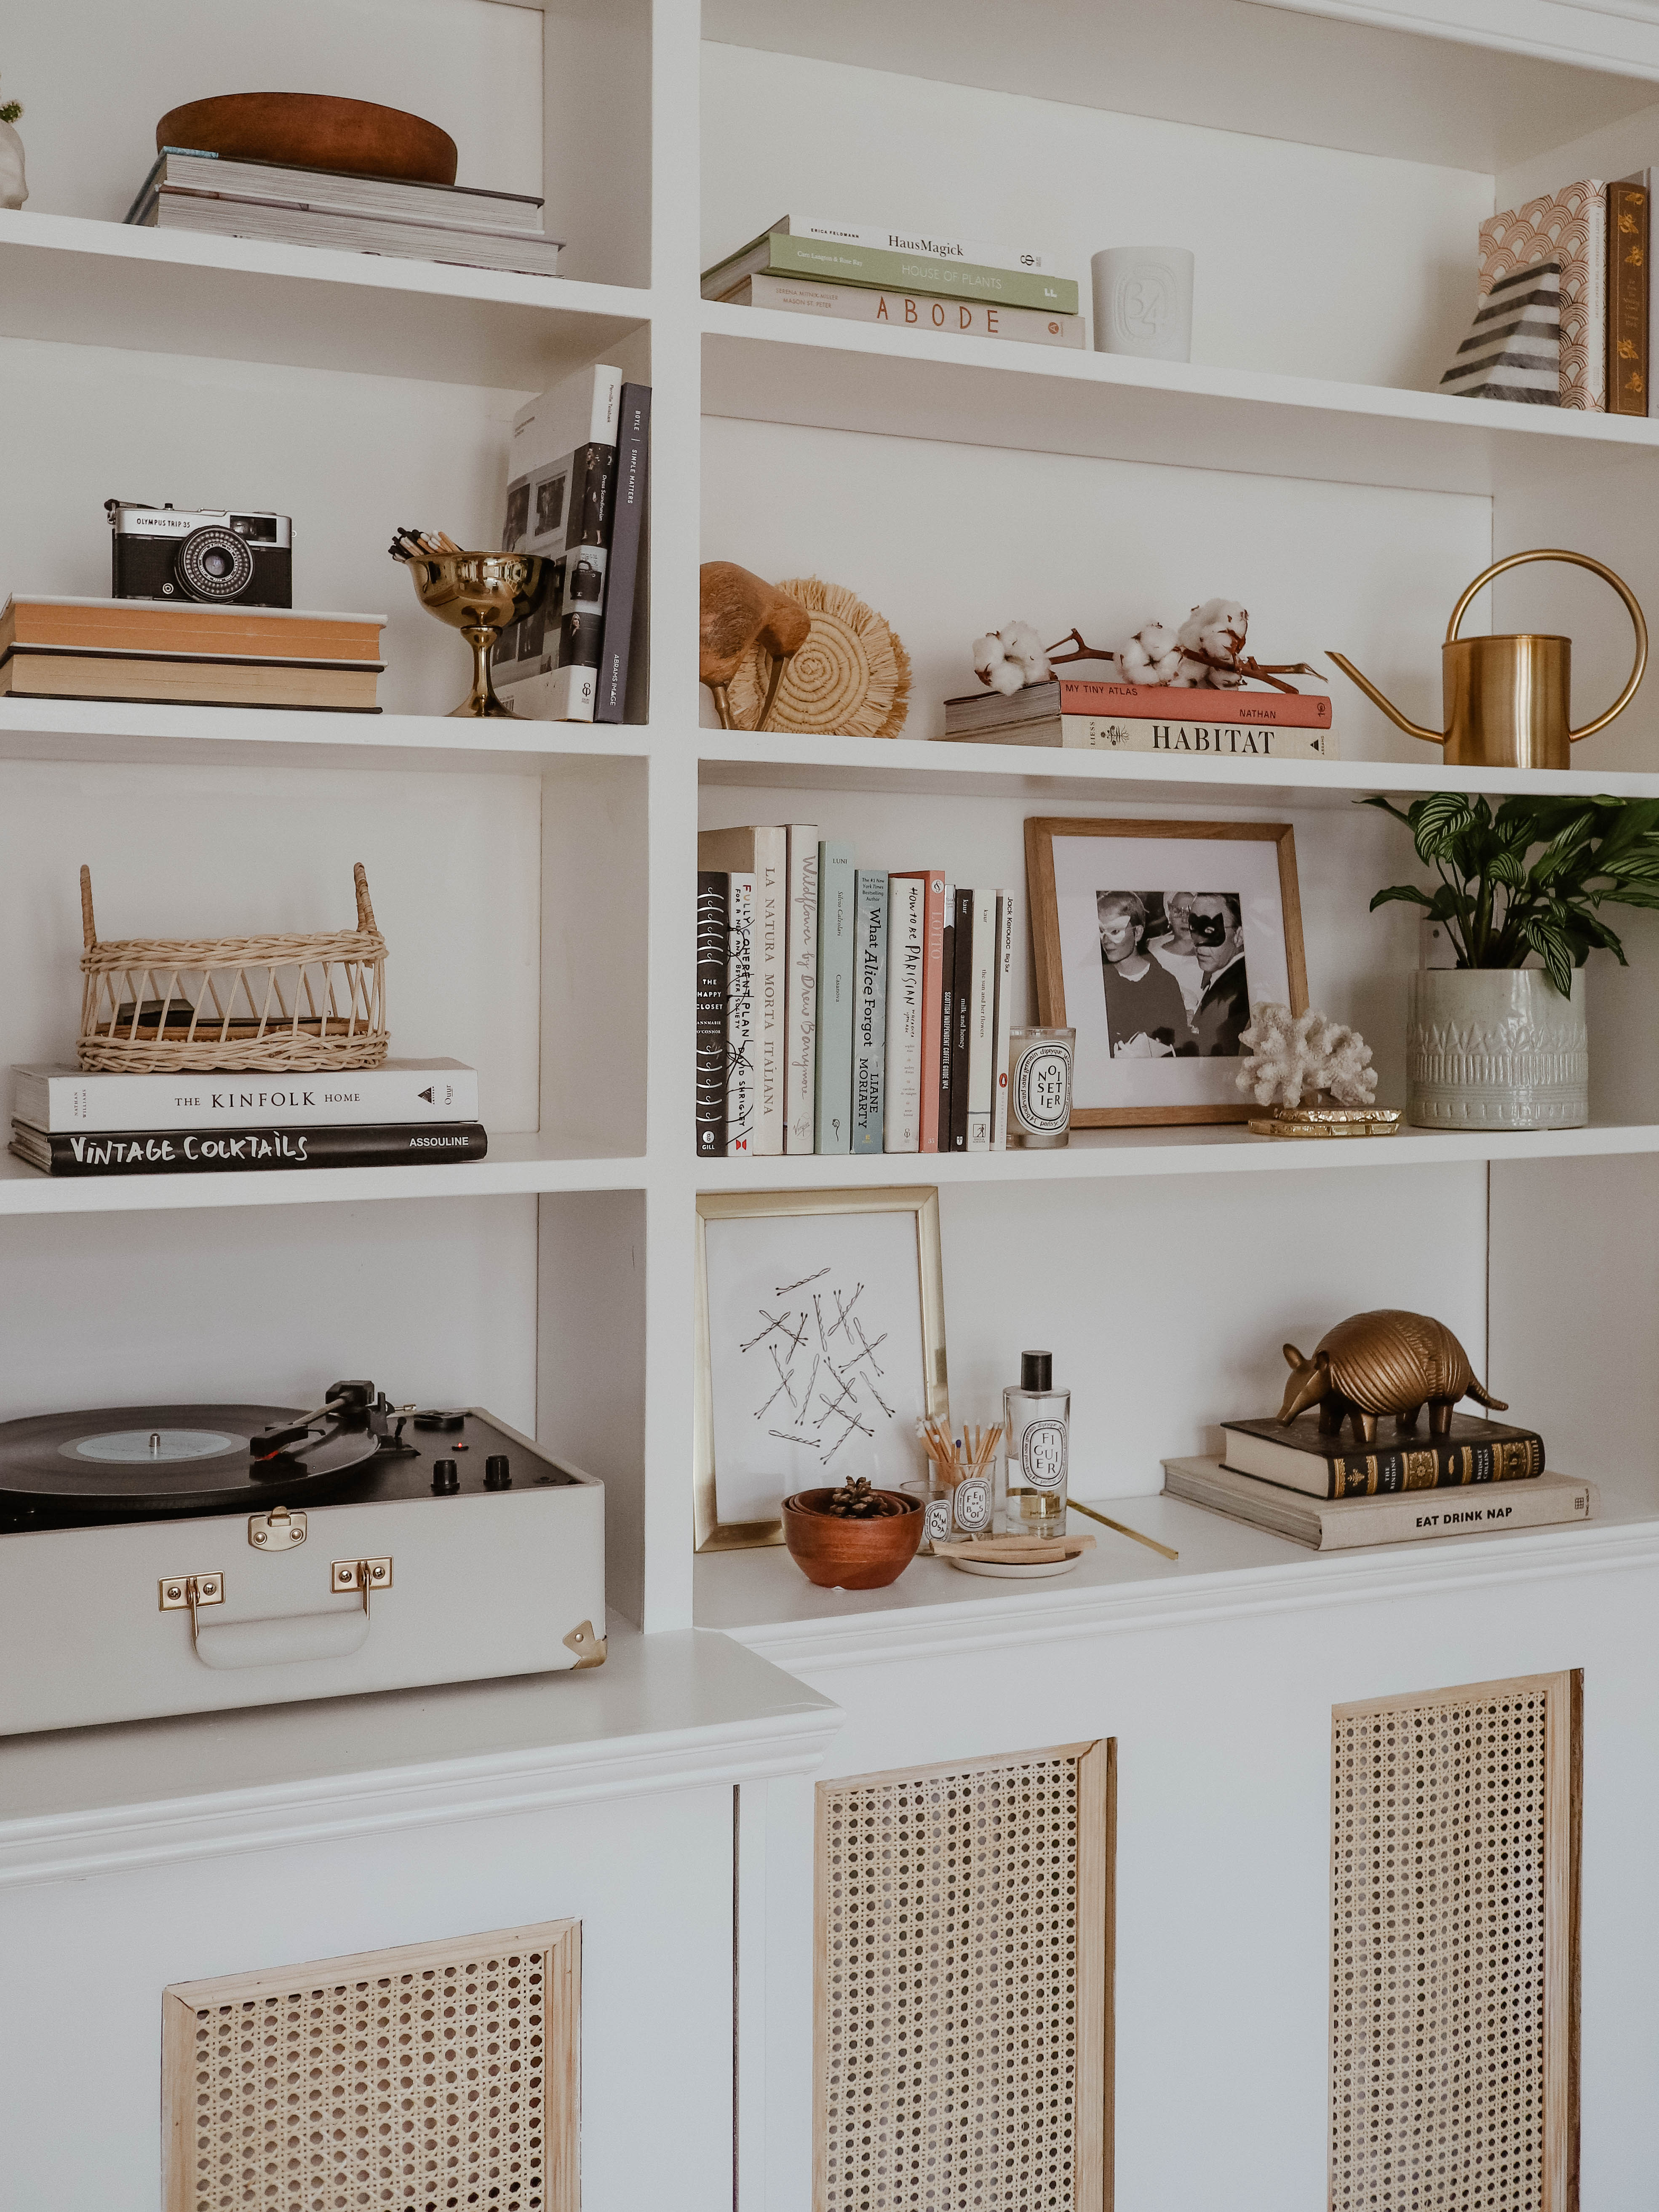
The final addition to our living room!
There’s no doubt I adore shelving; when I think of what makes a house feel like home, it’s personal details out on display! I think it’s so charming to have your books and keepsakes on show, especially when it’s an authentic mix of old and new.
It’s always been my dream to incorporate a big cabinet in to our living room, we had an awkward blank wall with only a radiator towards the back of the room and I really didn’t know what to do with it. In the end I decided to build shelving right along it. It meant covering the radiator and swapping the way the door opened, but it all came together in the end.
Tenements are notoriously hard to work with – the high ceilings and big walls mean you really have to commit, while also work with the volume of the room and ensuring the new addition is in keeping with the Victorian period. It’s a lot.
Admittedly, this was one of those projects I thought was going to be easy breezy but it actually ended up being one of the most difficult! I originally hired a guy I found online who was experienced in building the style of cabinets I wanted. He measured up, said it would take two weeks, built some unsightly MDF base cabinets and then never returned. This was at the start of the year, and around this time we bought the new flat and started work on that – I questioned my plans to work on the current flat when we had another place to renovate!
The MDF units sat in our living room for months. Literally months.


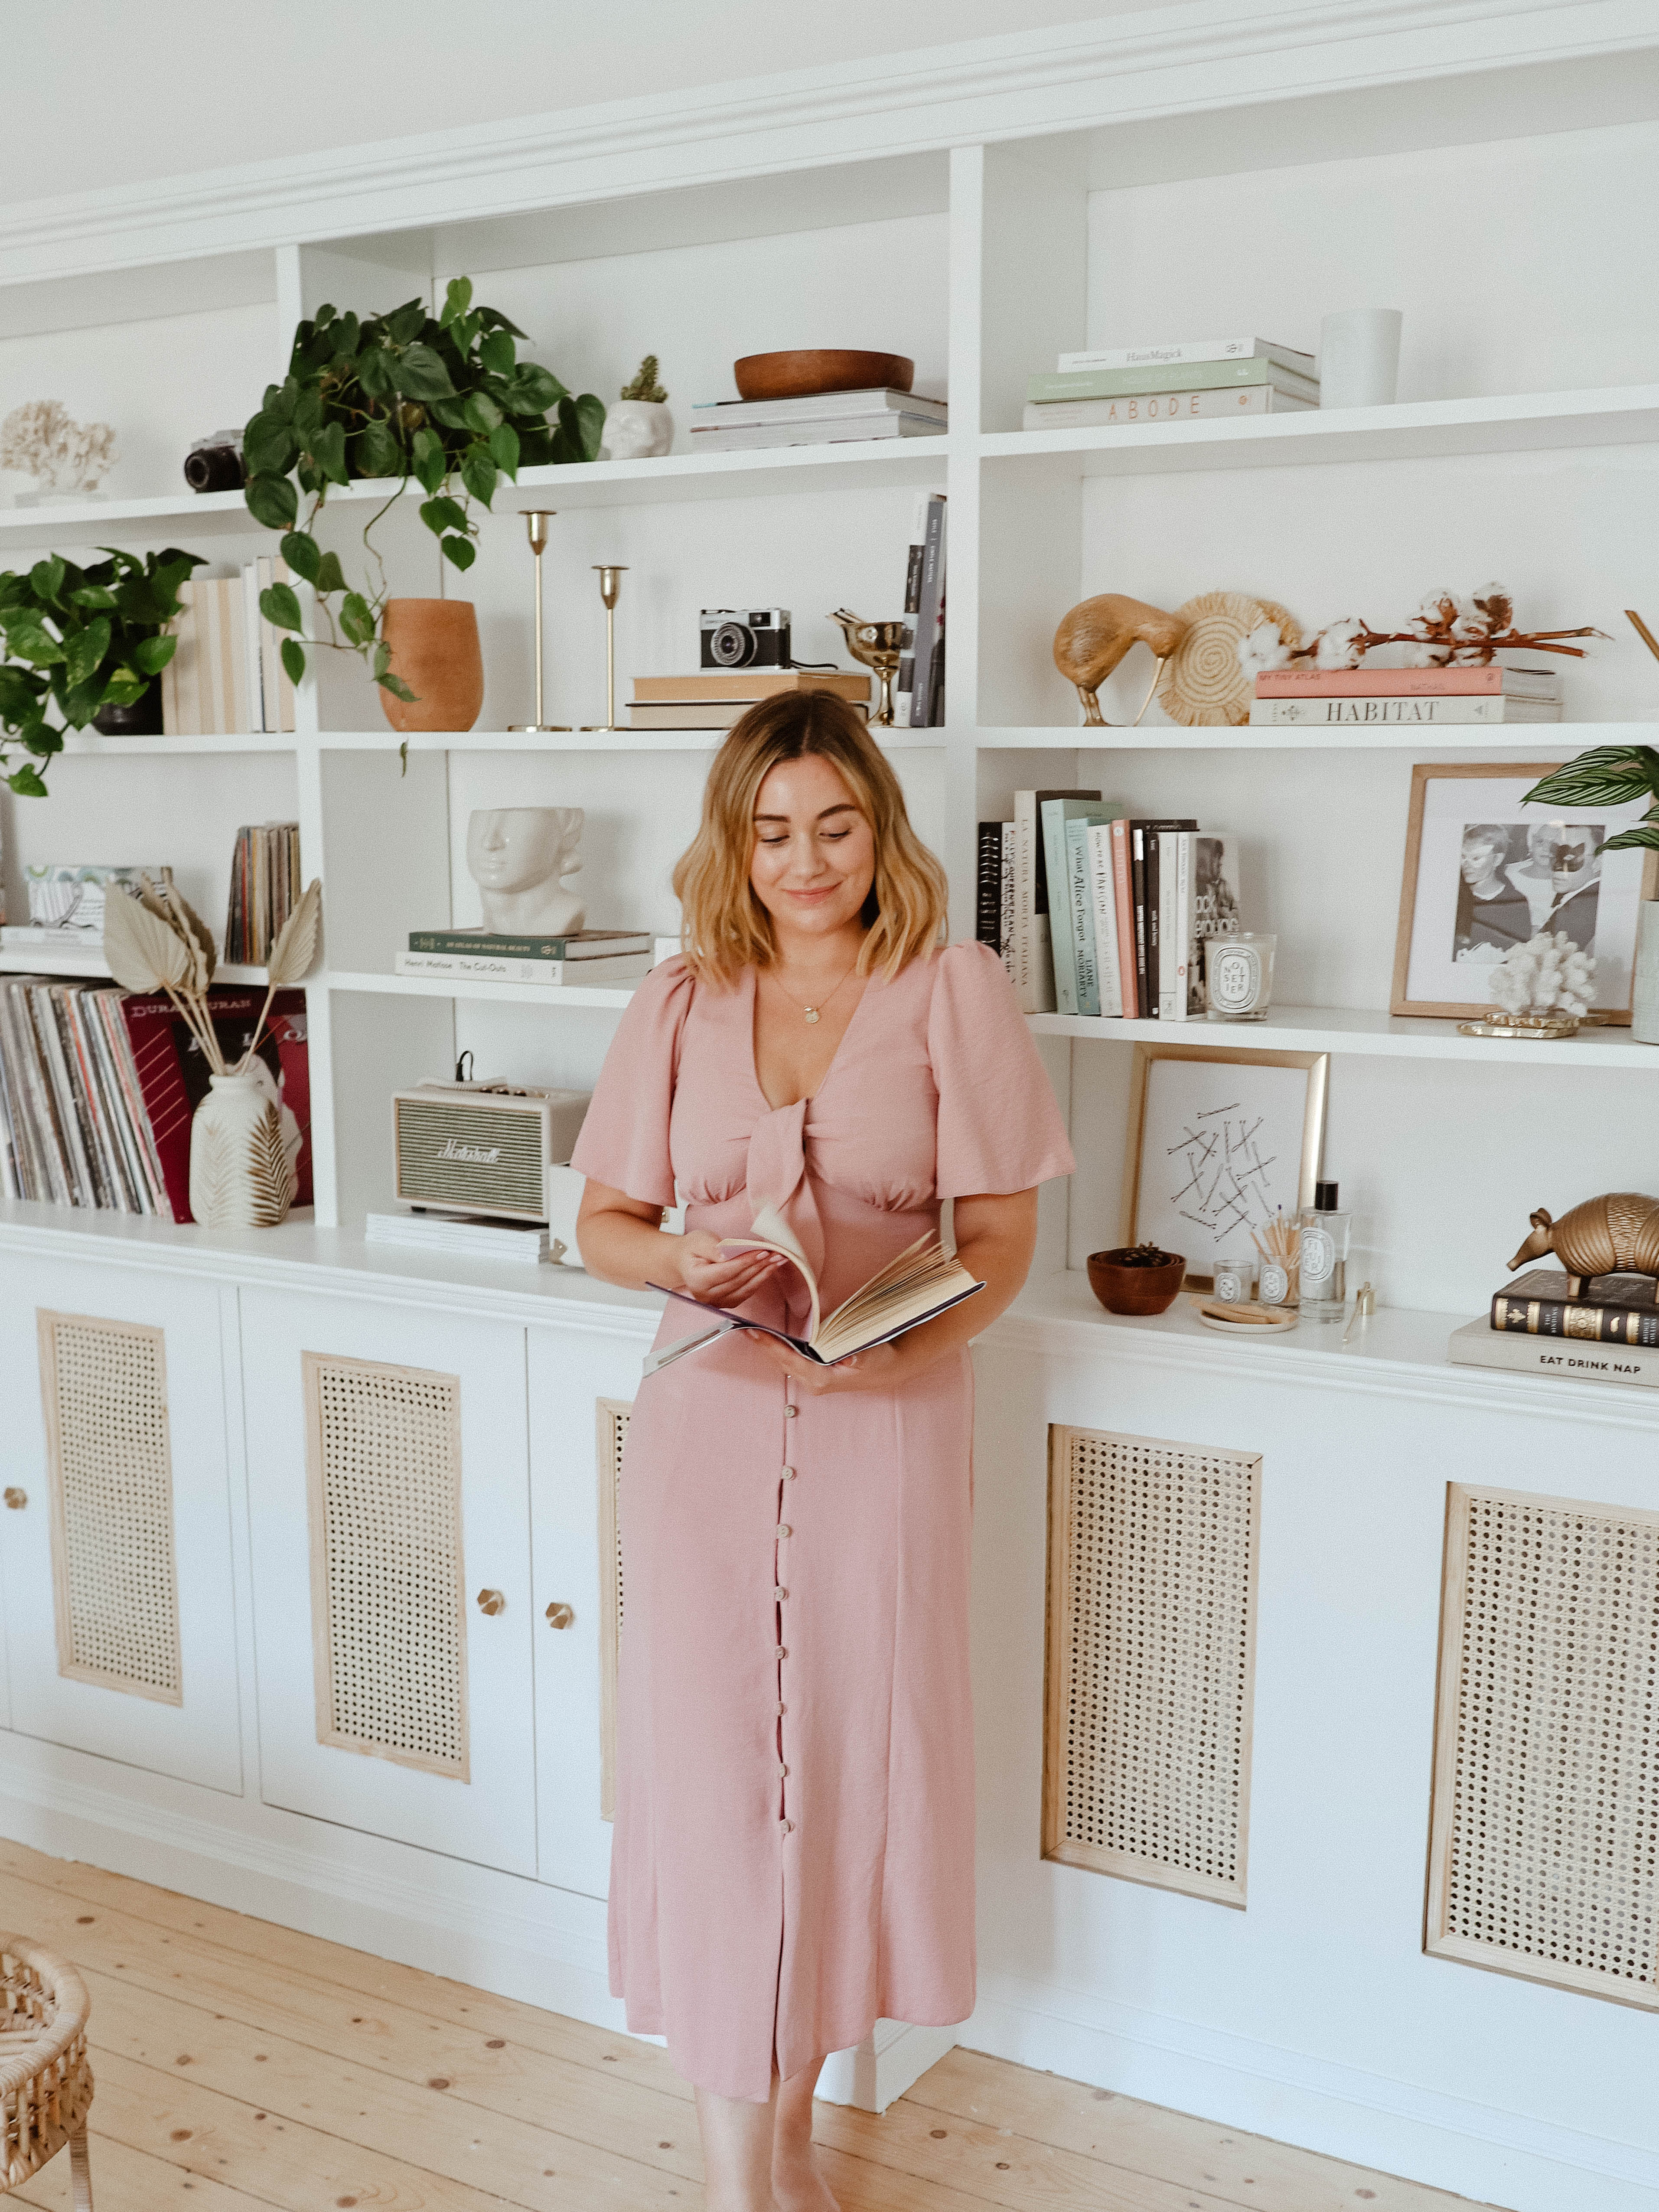


In the end, I hired our usual joiner (who is, at this exact moment, working on a similar set of wardrobes for us!) and gave him a full brief of what I wanted. I had gone back and forth with the shelves a lot – were they going to be worth it? How would I make them work around the radiator? Since the previous joiner had already started the job, I felt like we should keep on going with what he started – but the cabinets didn’t work around the radiators we had installed. I just couldn’t make a decision on them!
Luckily Dave, my go-to guy for any sort of carpentry work, had a plan – take down the original base units, raise the height of the cabinets and build around the radiator – he made a removable cover with cane fronts to fit around it.
He also added skirtings and a decorative moulding around the top to make the units fit in our period property. He had to leave a small gap to make room for a cupboard door on the left side, and also build the shelves around the light switch, but the end result is exactly as I had hoped.
One of the reasons we created these shelves was so that we could have a place for all Jordan’s records, as well as somewhere to place the record player and speaker. I made sure Dave measured the shelves so that the first shelf was the right height to hold the vinyls, and then made the rest of the shelves less high.
I’m really in to rattan at the moment, so I asked Dave to make the cabinet doors with cane webbing. It was cheap and relatively easy to do, and I finished off the doors with these beautiful brass hexagon handles (gifted).
We painted the cabinets in a lovely eggshell white, and before we knew it they were ready to style!


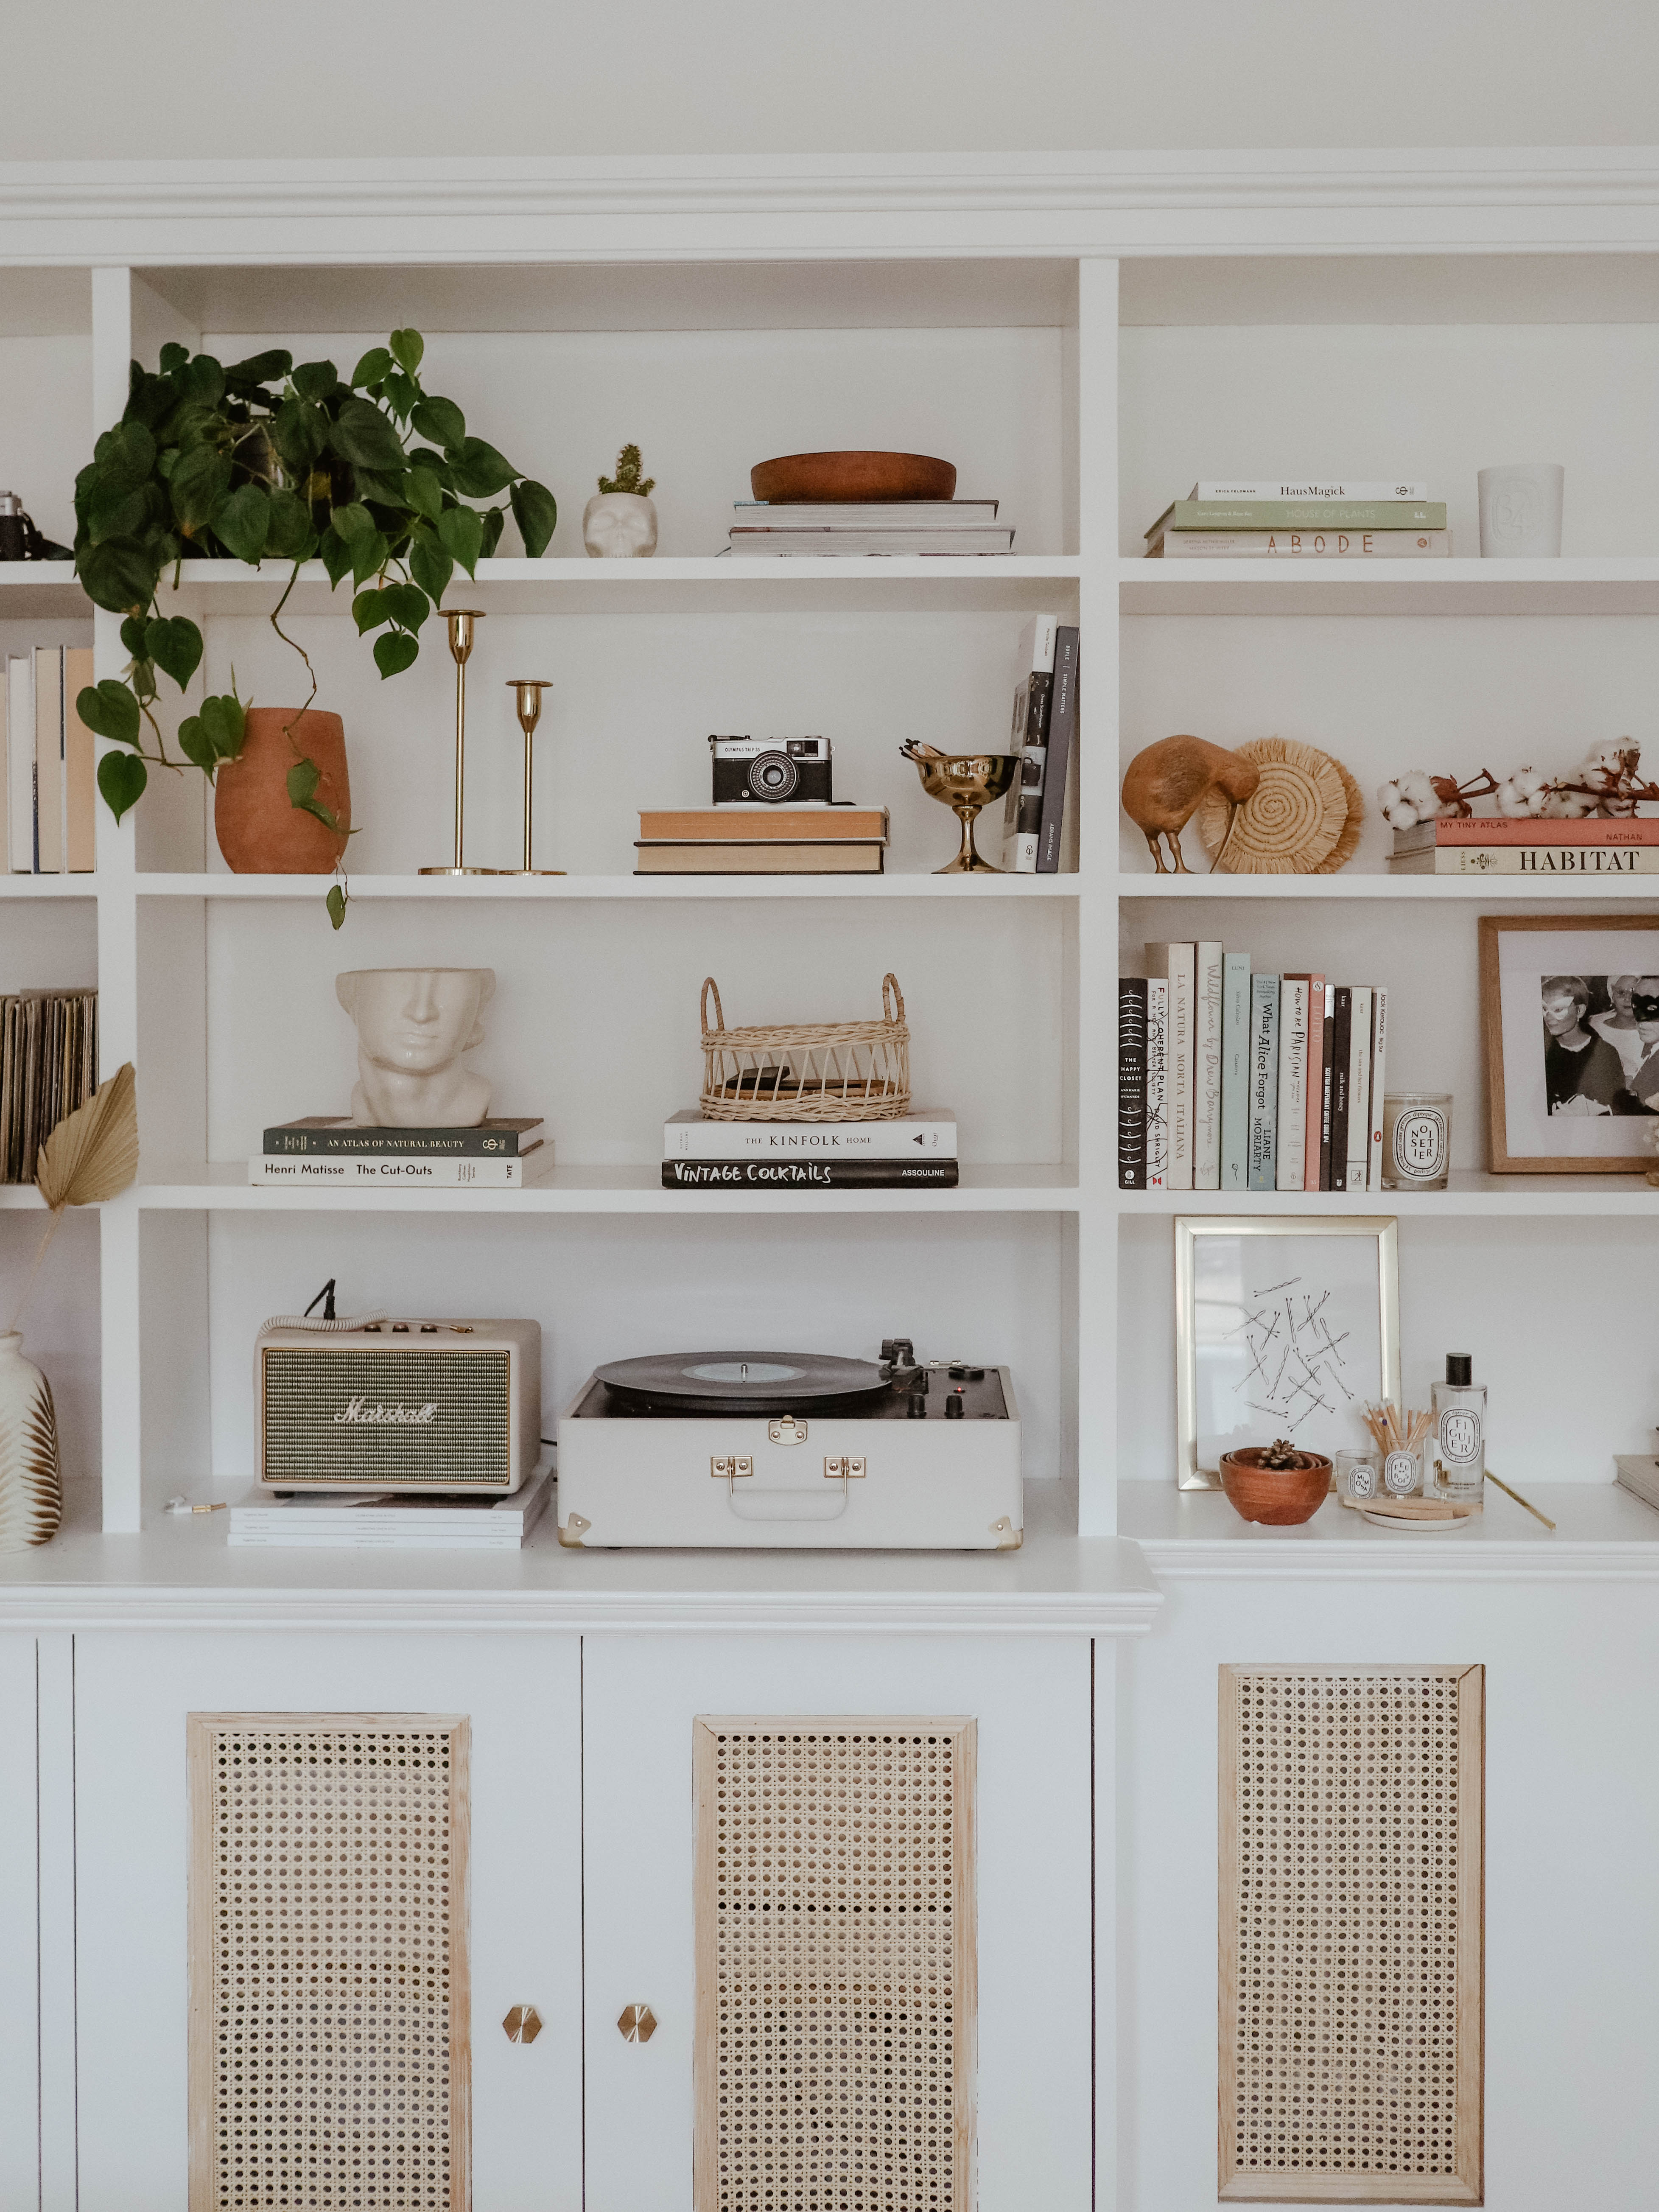
On to the styling…
We rushed through the painting part so I could get on to my favourite task – styling them! Jordan alphabetised his record collection while I lined up all the items I wanted on the shelves.
I always like shelves to look like a sort of undone arrangement of items; nothing too overly style, but a lovely assortment of pieces we’ve collected on our travels, books we adore and ornaments we love (like our little Kiwi!).
Books are a great place to start, stack ’em to add height or arrange them by colour. Add a few small prints leaning along the back and work in some greenery too. Leafy hanging plants always add a little somethin’ somethin’ if you ask me.
I added a few old cameras we had tucked away, placed my favourite candles next to them and then grouped smaller items on trays to create more vignettes.
I’ve styled so many spaces in our flat but I do still find creating the perfect shelfie tricky. It’s all in making it look considered but not contrived, the more vintage pieces and genuine treasures you work in, the more random and fun it becomes!
The secret is to shuffle, shuffle and shuffle again – play around with it until the tones are right, and it’s a good balance of styled but not overly so.
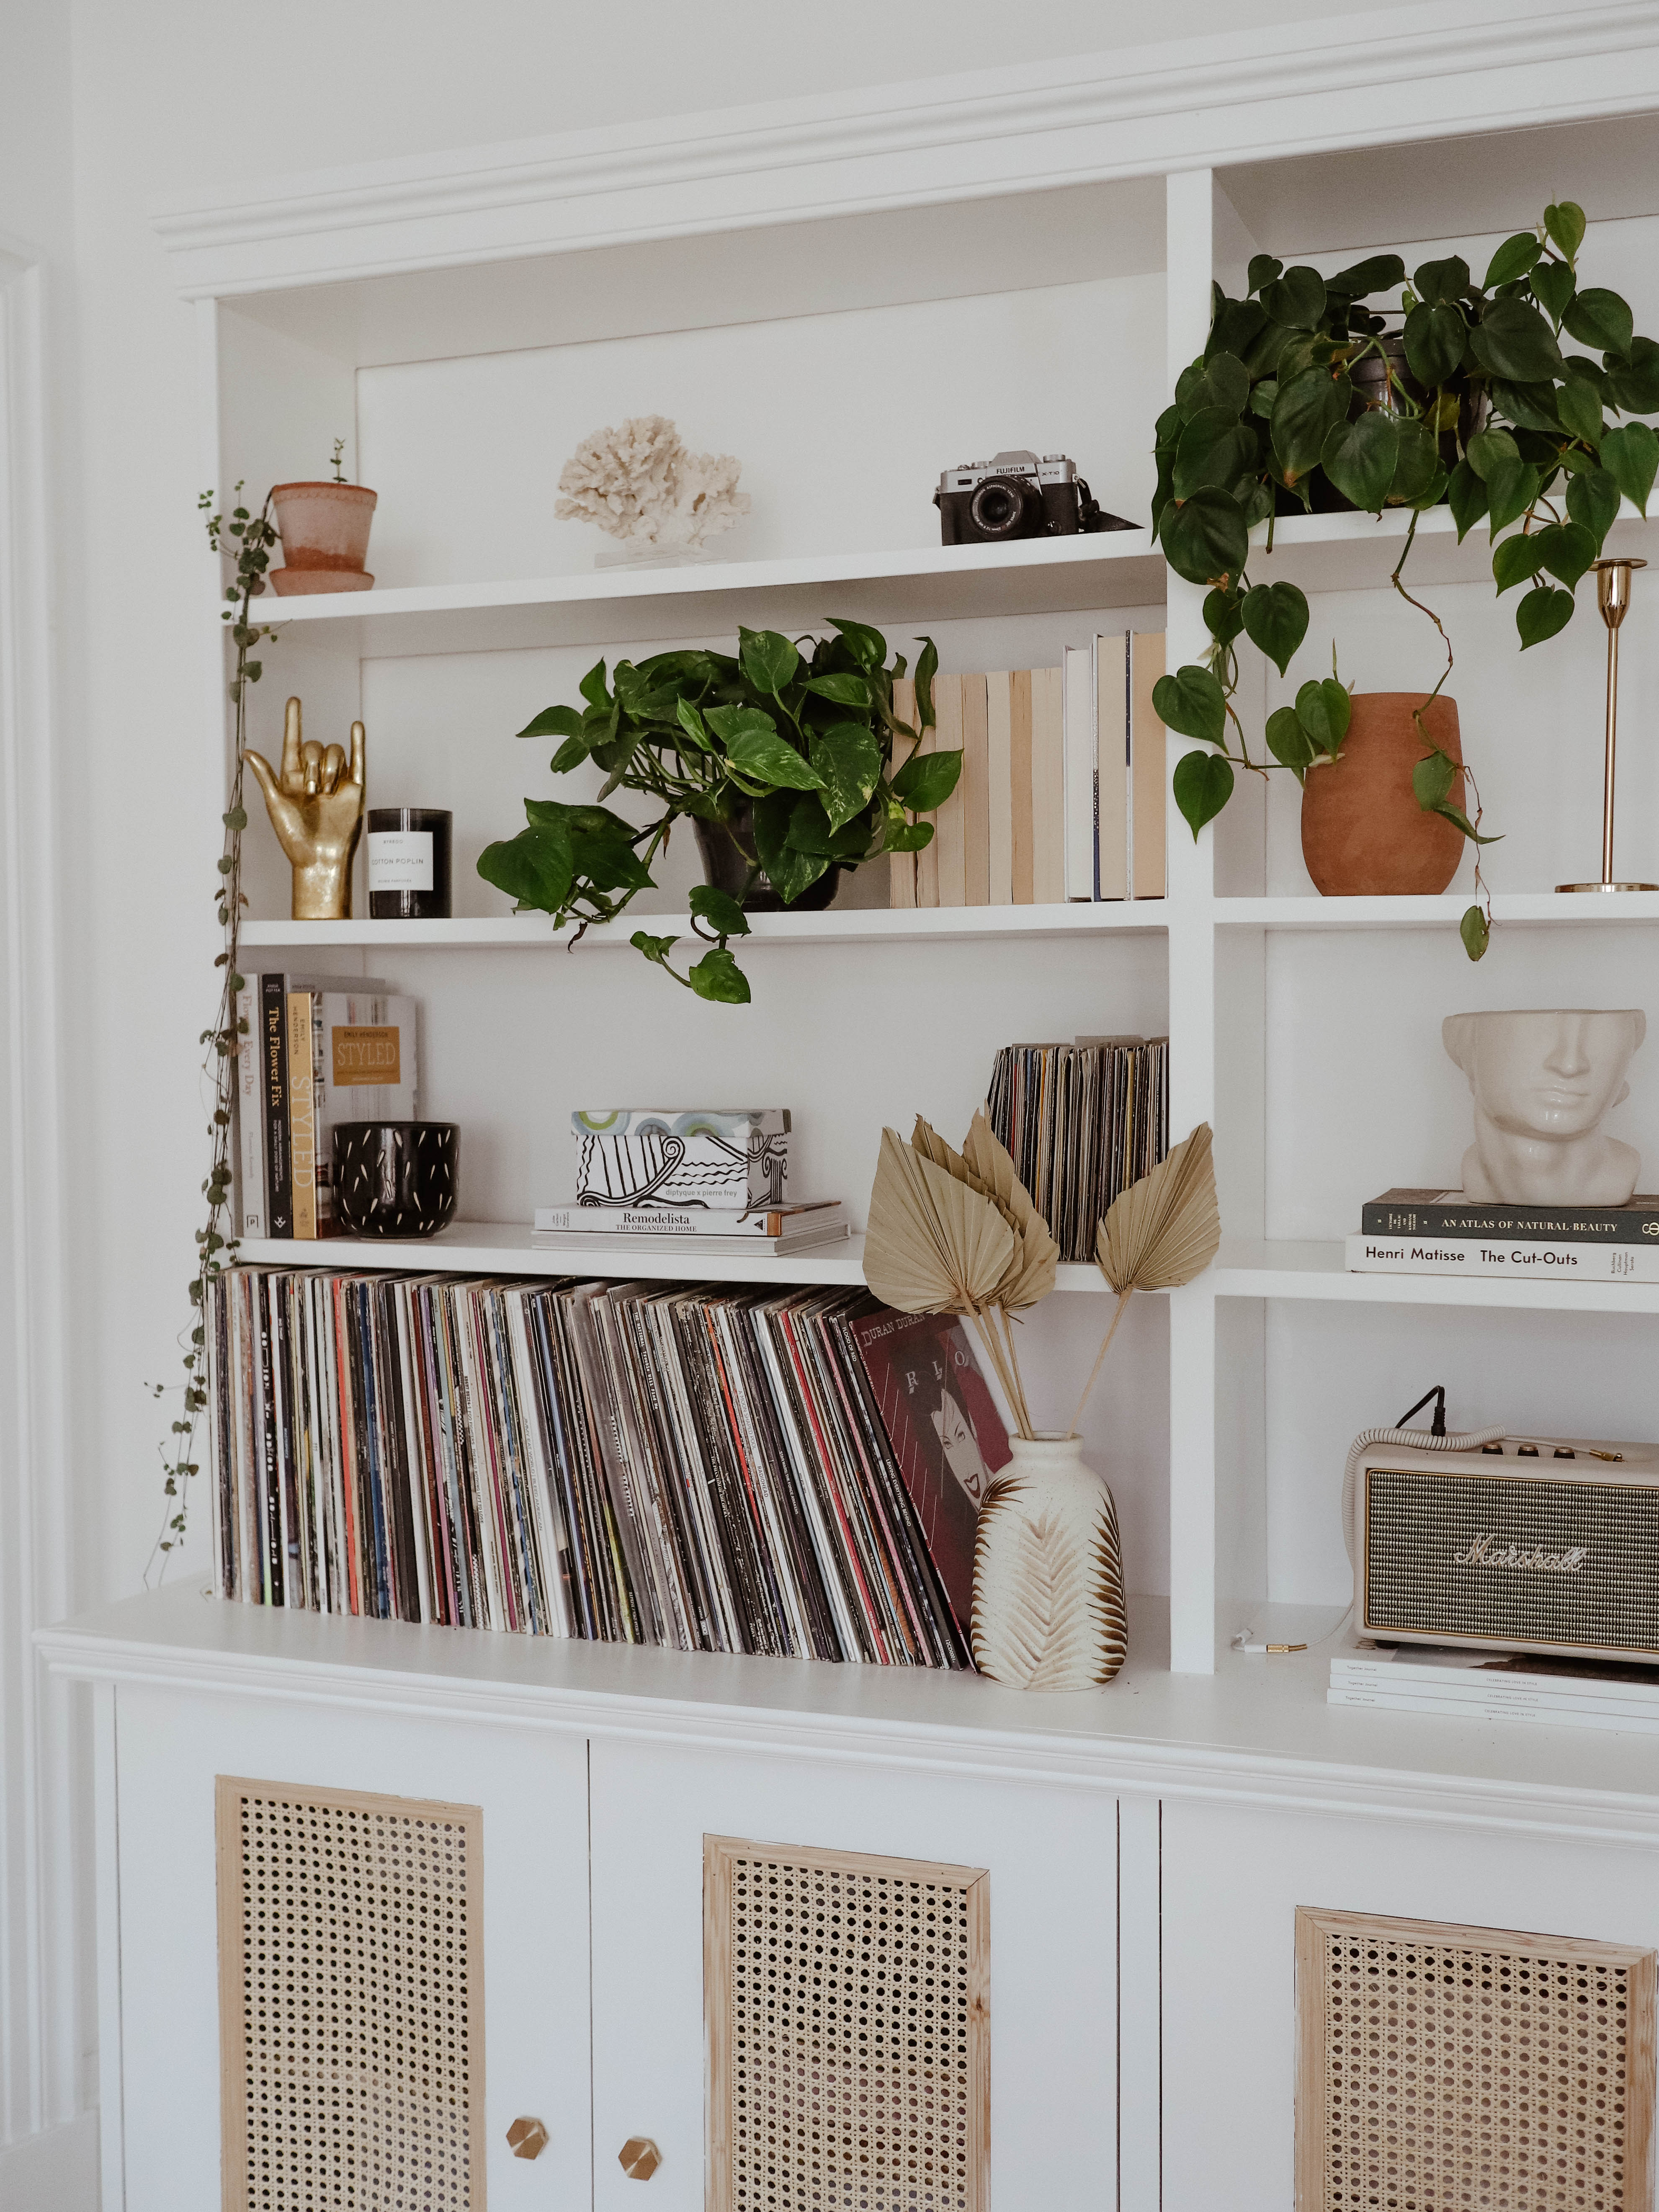
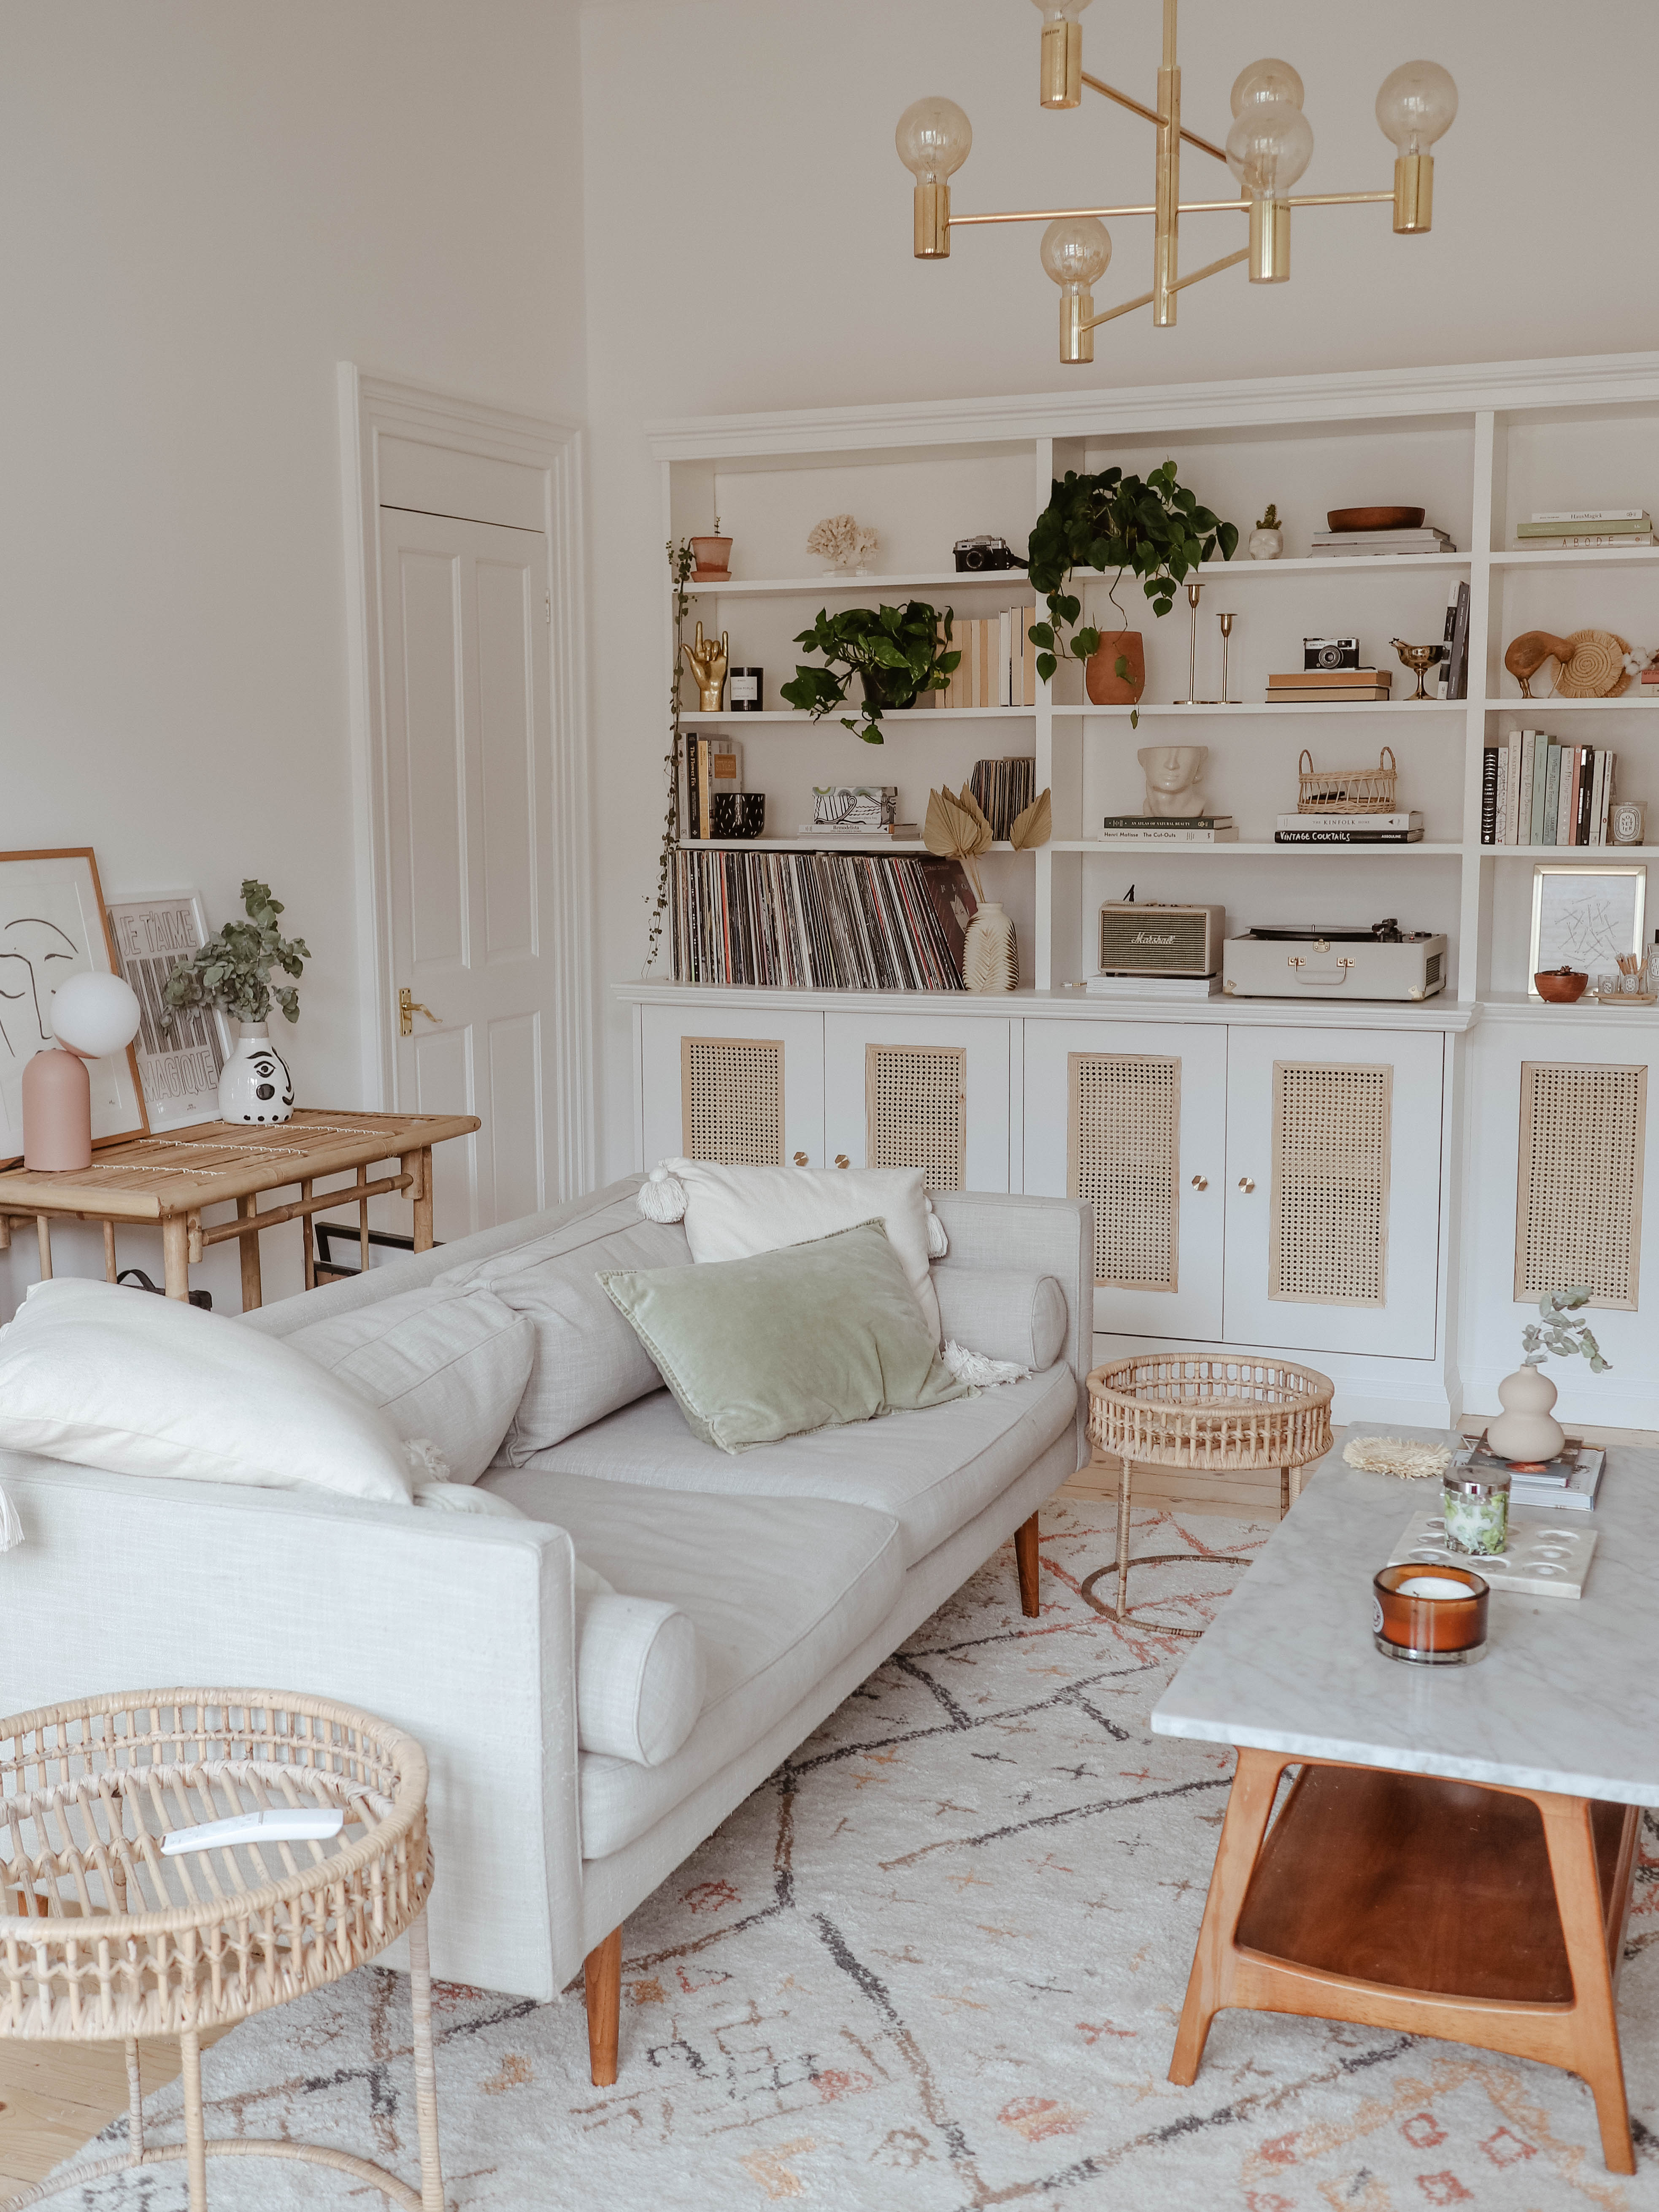

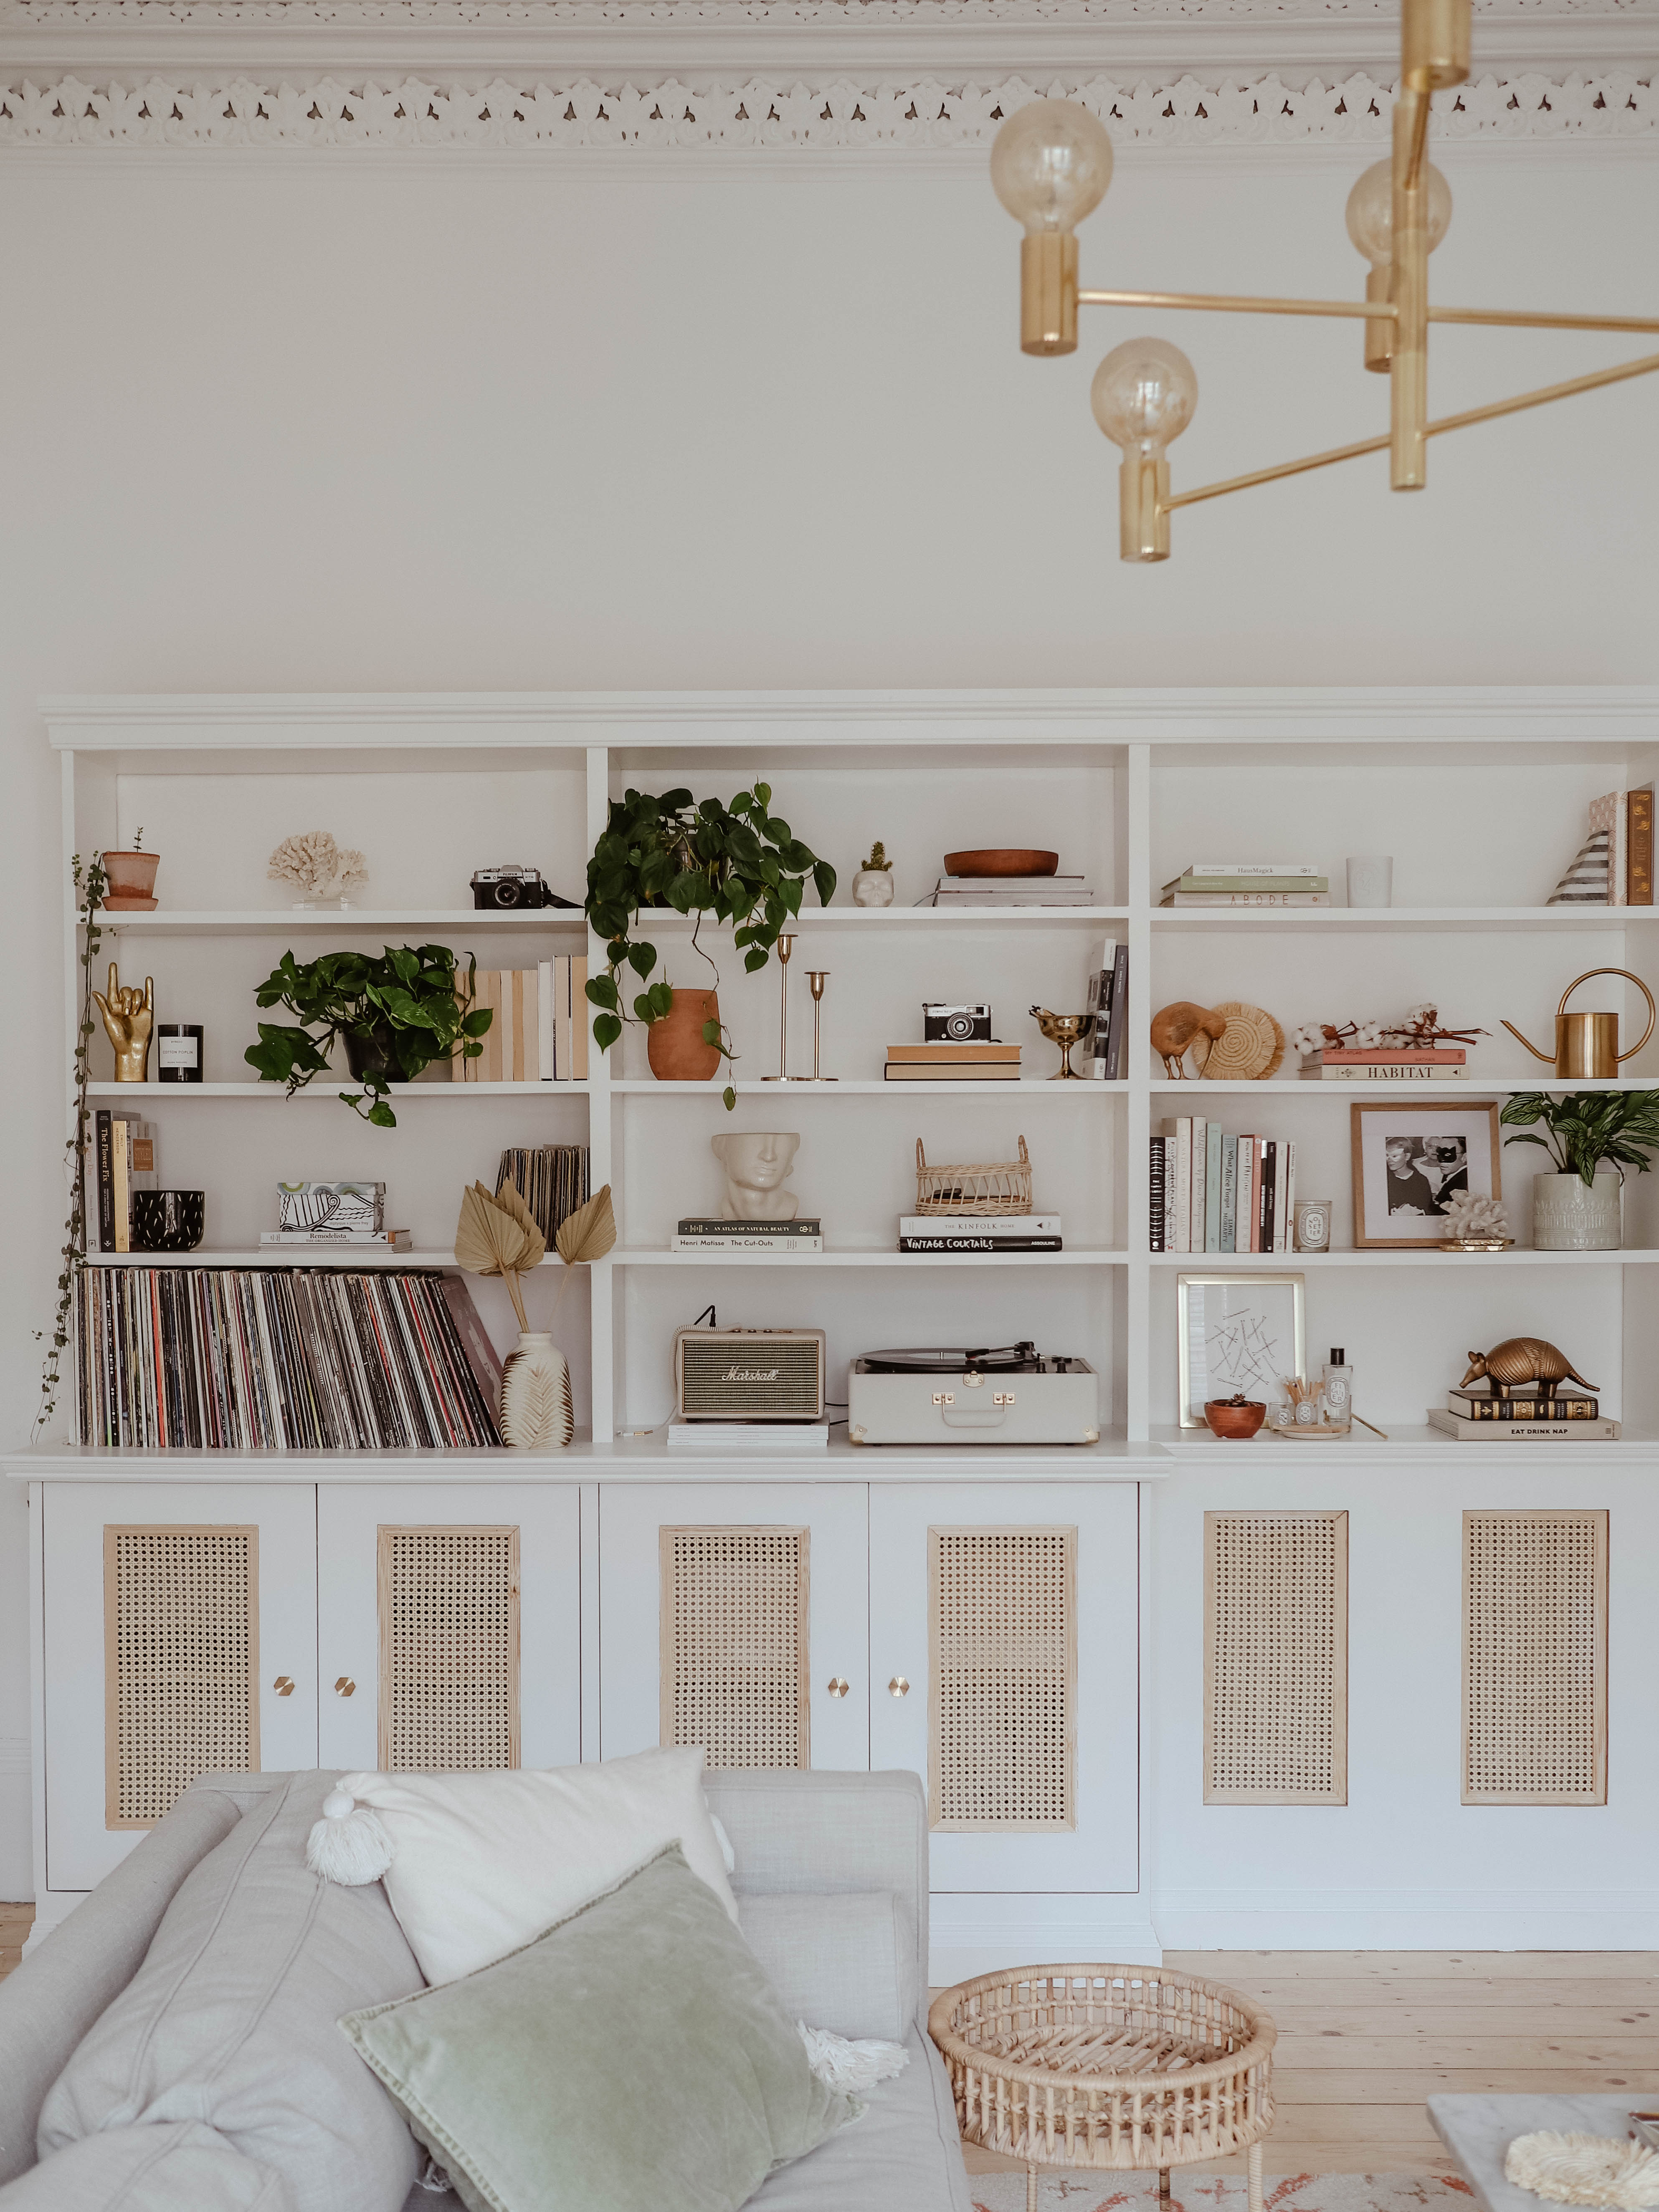
It was a bit of a journey to get here, but I’m so happy with the finished result. The mix of the white shelves with the rattan doors and brass details is exactly what I had hoped for – I even think I’ll recreate these shelves in the new flat, they work so perfectly for the space.
I feel like the living room is at a good place at the moment, although if we didn’t have a new flat to work on I think I’d add in a bit more colour or some bright wallpaper. Still, it’s fun to reshuffle and play around with it to help me get inspired for the next place.
Are you an open shelving fan? What do you think of our new cabinets?


